This article will guide you on “How to draw a tiger” in simple and easy steps. Drawing a tiger is quite interesting for fun, however, it may be a challenging experience. By following these steps, you will learn to draw the tiger.
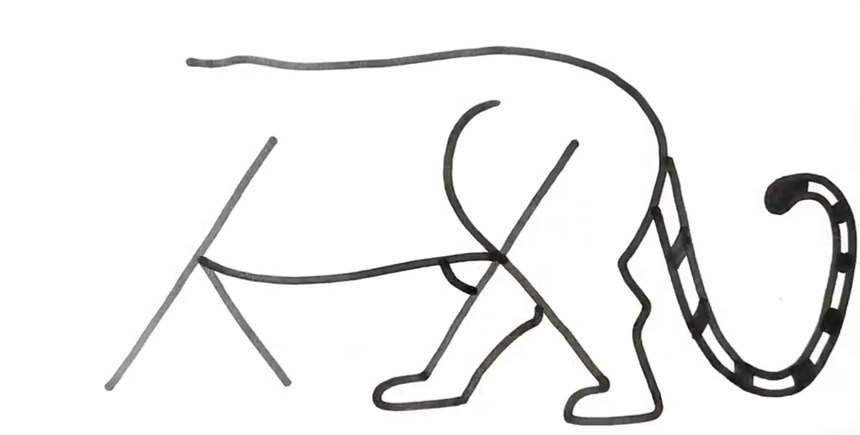
Step 1: First of all, draw the combination of lines as follows.

Step 2: Complete the left leg, back, and upper part of a tiger by drawing a continuous
curve.

Step 3: Then, draw the tail by drawing the two similar curves. Add stripes on the tail. Also, darken them.

Step 4: Then, draw the lower part of the belly by adding a simple curve.
Step 5: Draw the tiger’s stripes and hair features on the body. Also, darken them.

Step 6: Add the front pair of legs. Also, add stripes to the legs.

Step 7: Complete the face by drawing the outline of the face and ears.
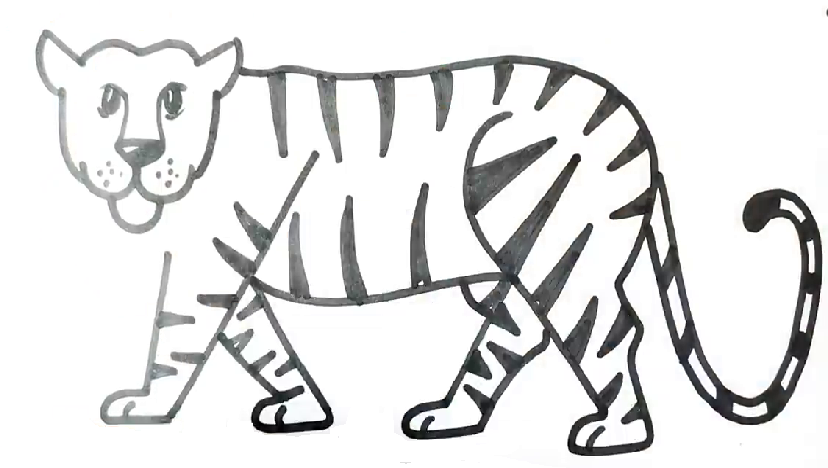
Step 8: At the end, finish the tiger by drawing the lower and upper beard.

Step 9: The last step is to color the whole sketch. Darken the tiger’s stripes and also add shading.

Don’t give up if your first attempt at “How to draw a tiger” doesn’t turn out perfectly right. Remember that drawing is an art that requires practice. Continue to practice more and enjoy yourself!
For more useful topics, visit blogtoeducate.com